InDesign templates are available for 99% of our product range. Templates offer an "assured" starting point for your supplied files. For Fabric products refer to Using InDesign TGI Templates for Fabric article.
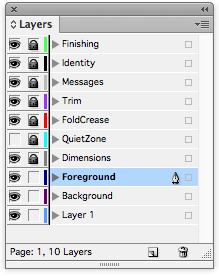
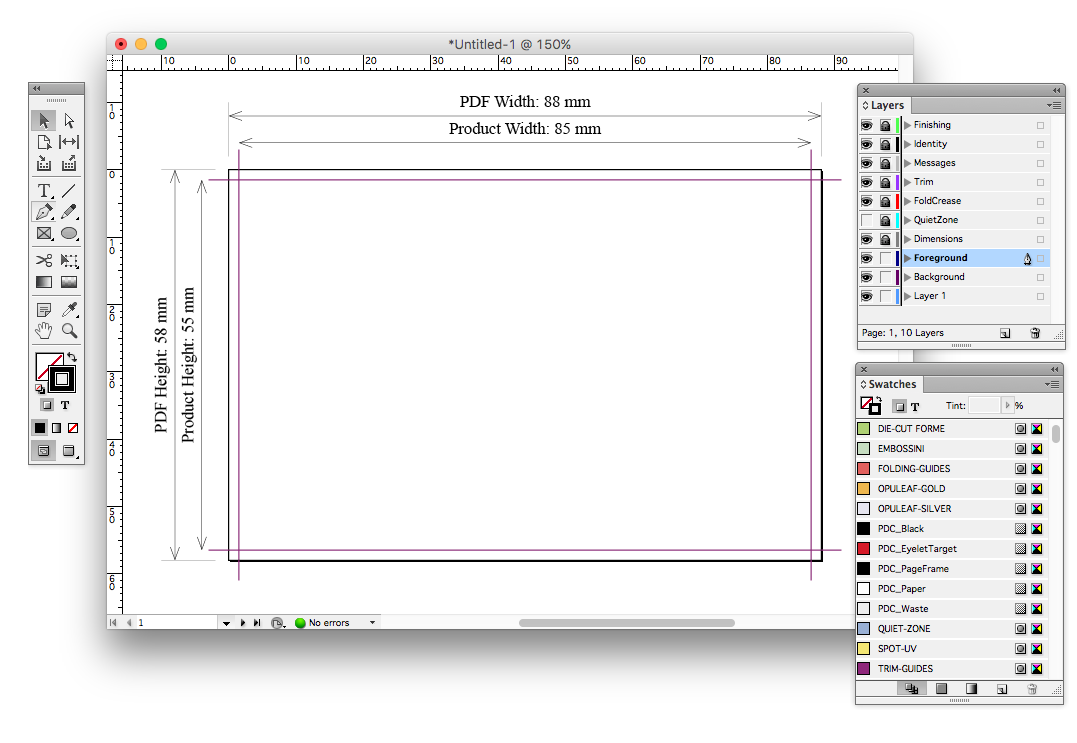 InDesign Layers
| Layer Name |
Notes |
| Foreground |
Printable layer: Your regular artwork layer, where you place your design. |
| Dimensions |
Guidance only: Shows sizes of some features such as page and trim guides |
| QuietZone |
Guidance only: Areas that you should leave clear of important elements such as text and logos. |
| FoldCrease |
Guidance only: Identifies fold and crease positions (where there are no die-cut guides) |
| Trim |
Guidance only: Shows our trim guides for guillotining |
| Messages |
Guidance only: Hints about the product or spec. |
| Identity |
Guidance only: Product code, template generation date and update version number. |
| Finishing |
Printable layer: Finishing elements that must be topmost on the artwork and are required for printing die-cuts, spot uv and folders (Folder Style ID box for example). |
Guidance Layers
These Visual Aids are not required for printing and are removed by FileCheck (status 021). They should not appear on your "Print Ready PDF".
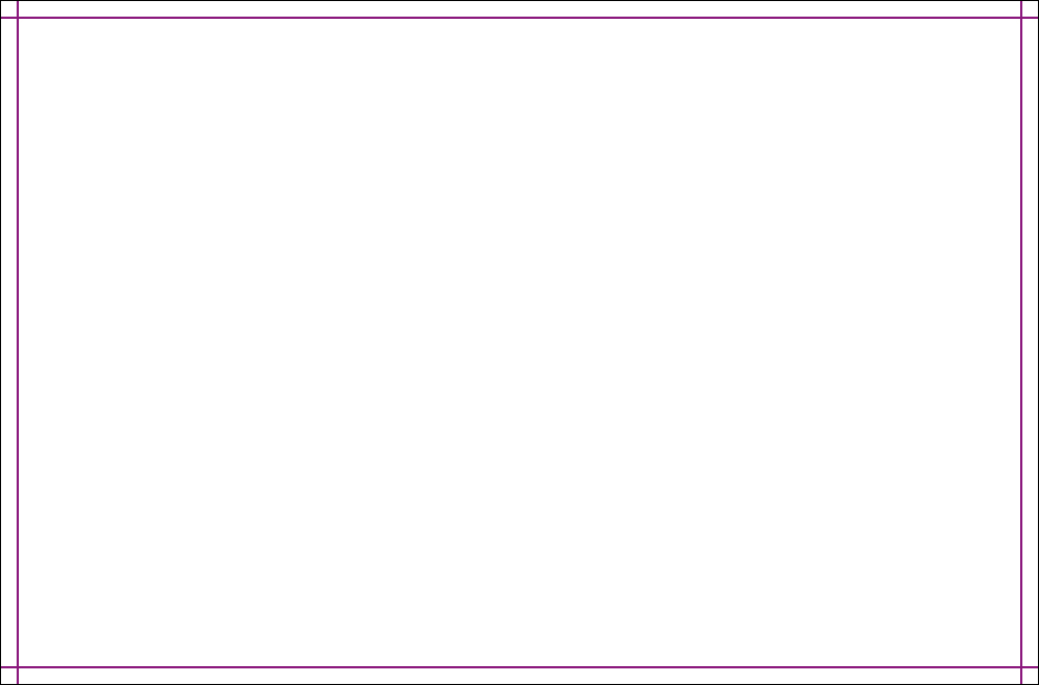
Quiet Zones
It's best practice to leave a 3 to 5mm margin (Quiet Zone) between your text and logos and the trimmed edge for Litho printed jobs.
Booklets, Banners and Fabric products have much larger Quiet Zones.
The Quiet Zone is marked in the blue QUIET-ZONE colour, on the QuietZone layer. This layer is hidden by default, and can be revealed by clicking on the ‘eye box’ (leftmost column) next to the QuietZone layer in the Layers palette.
The Quiet Zone Guide should not appear on the "Print Ready PDF" and is removed by our FileCheck Software.
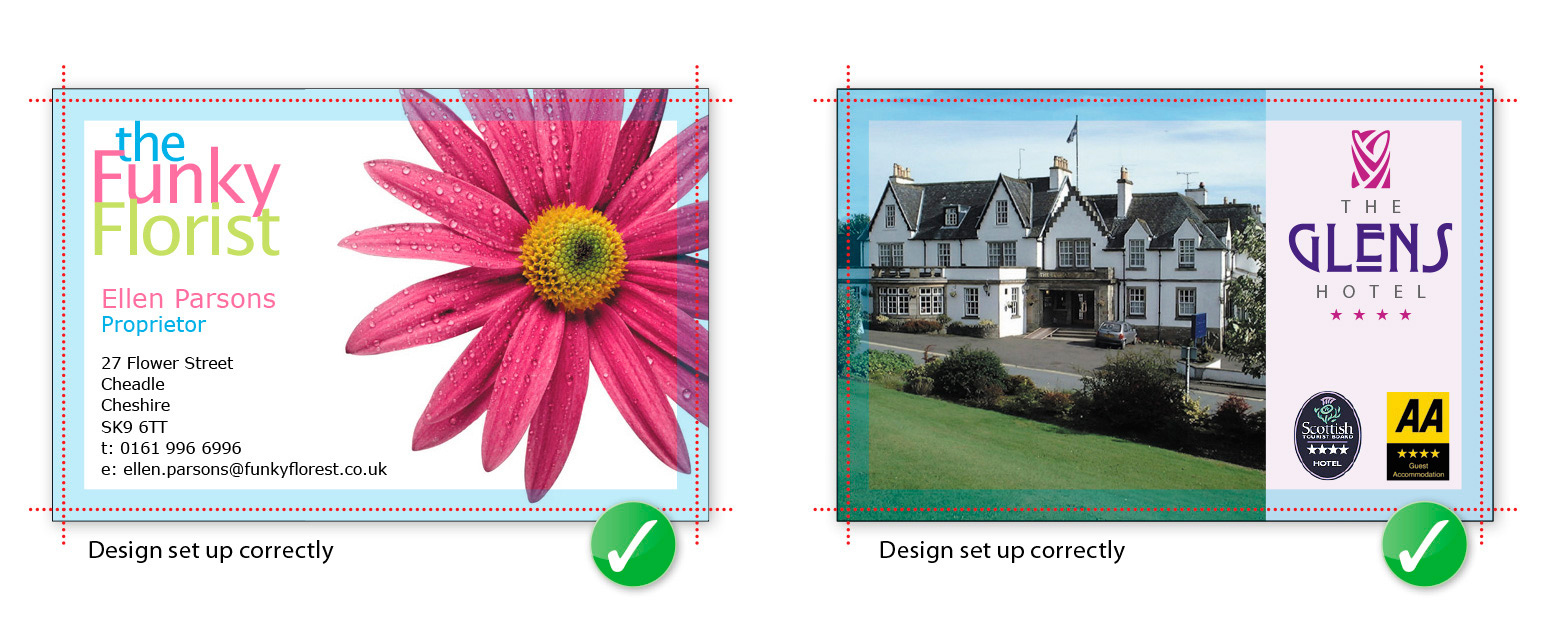
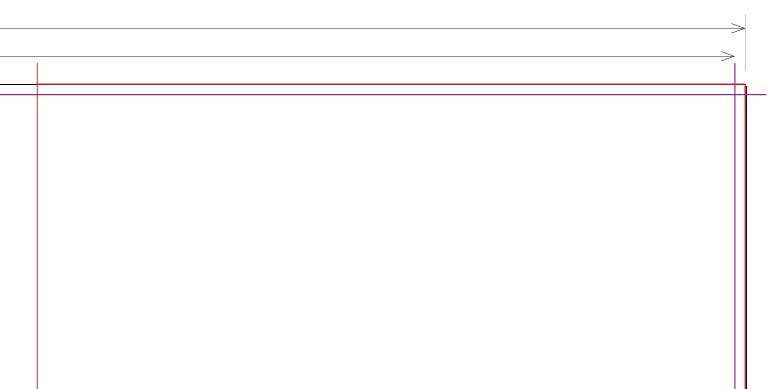
Trim Guides
These are marked in our purple TRIM-GUIDES colour, on the Trim layer, showing where the product will be trimmed. The tolerances for guillotining are -/+1mm. These elements should not appear on the PDF you send to print.
The Trim Guide should not appear on the "Print Ready PDF" and is removed by our FileCheck Software.
Fold Guides
These are marked in the FOLDING-GUIDES colour, on the Fold layer, showing where the product will folded. The tolerances for folding are -/+1mm. These elements should not appear on the PDF you send to print.
The Folding Guide should not appear on the "Print Ready PDF" and is removed by our FileCheck Software.
-1.jpg)
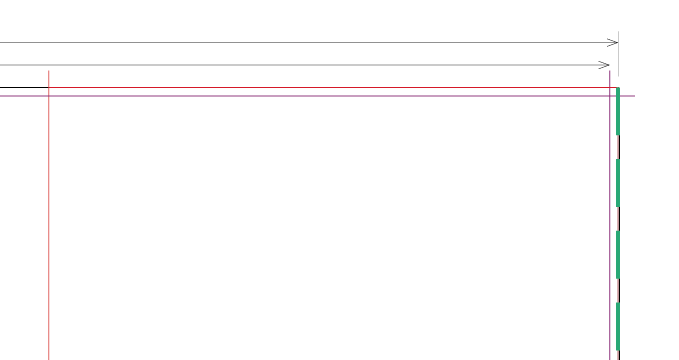
Mini Brochures and folded products
Red page frame for front panel
A red page frame is drawn to indicate the front panel on the finished item.
The Red Page Frame Guide should be present on your "Print Ready PDF".
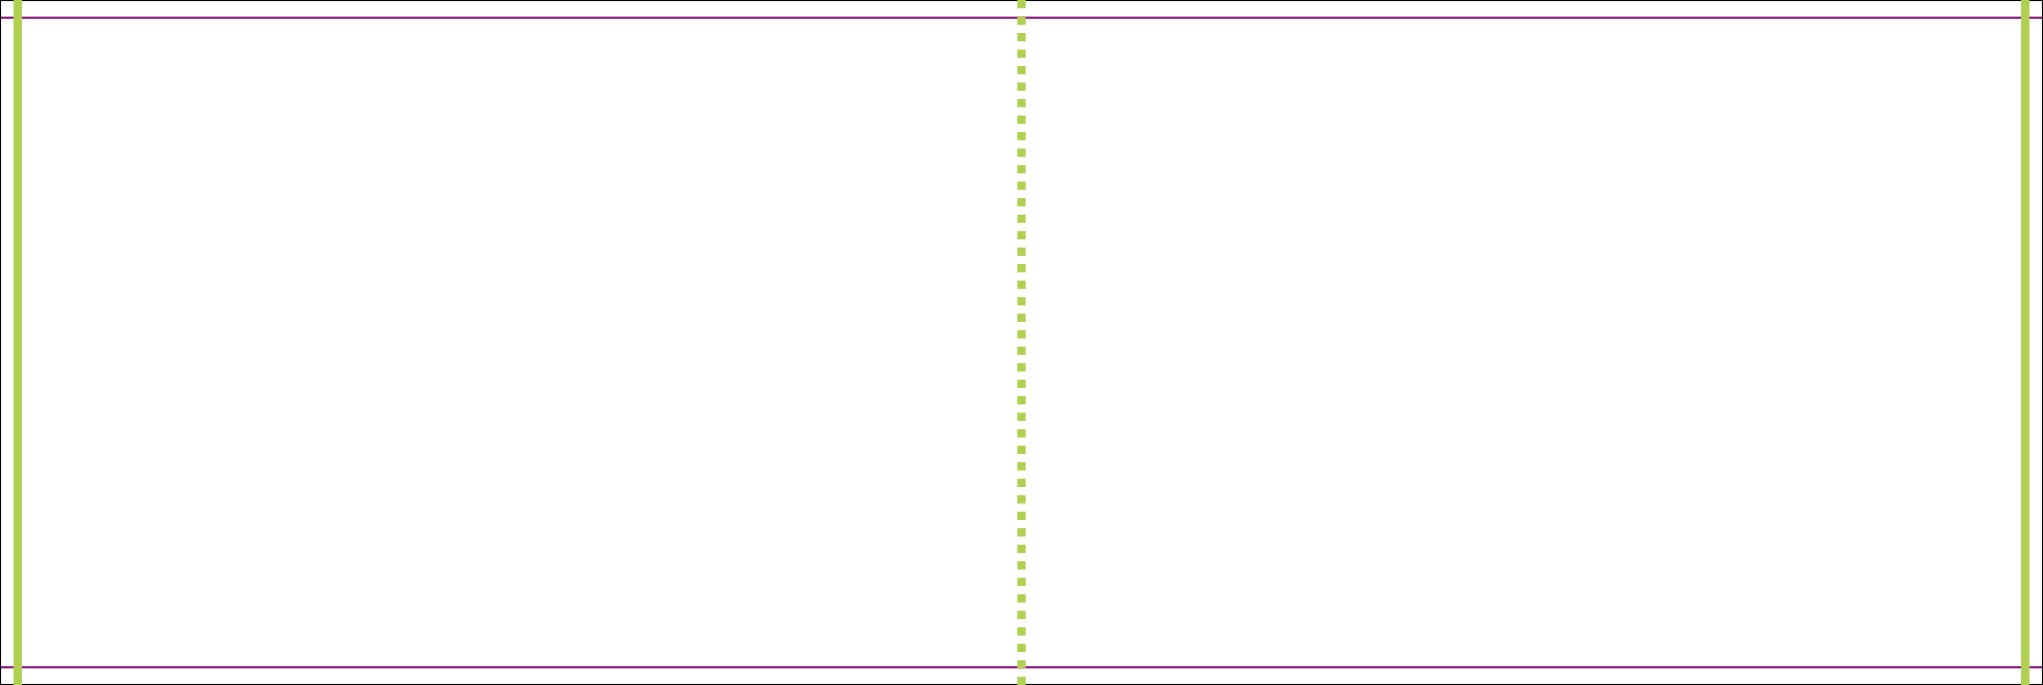
Perforation
Where a simple perforation option is specified on leaflet products, the parallel edge closest to the perforation is marked with a dashed green+white line.
The Perforation Guide should be present on your "Print Ready PDF".
Die-cut, creased, embossed, and spot-UV products
All of our templates include our die-cut, spot uv, gold or silver foil spot colours.
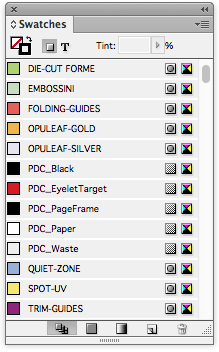
Die-cuts
Add 2pt Strokes to the Finishing layer, using swatch colour: DIE-CUT FORME.
Foil
Add solid shapes to the Finishing layer, using swatch colours: OPULEAF-GOLD or OPULEAF-SILVER.

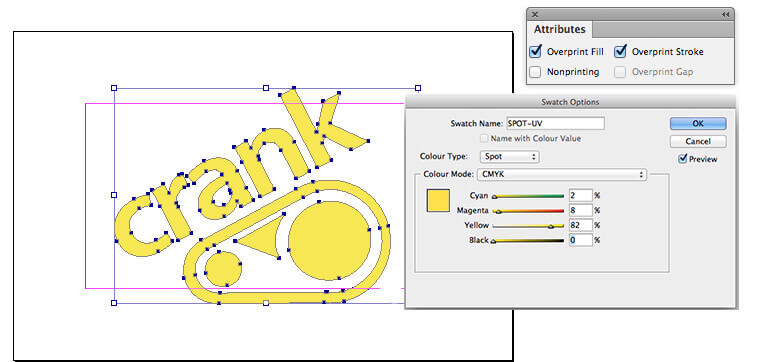
Spot-UV
Add solid shapes to the Finishing layer, using swatch colour: SPOT-UV.
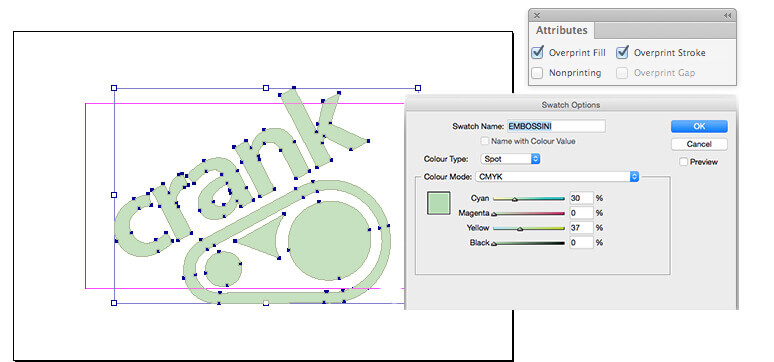
Embossing
Add solid shapes to the Finishing layer, using swatch colour: EMBOSSINI.
Large Format only
- 2 pt Page Frame on the Finishing layer
- 10 mm Quiet Zone.
Eyelets
For Banners having eyelets, TGI will place eyelets with the correct spacing. This also works with custom-sized Banners.


 Print this page